Simple Camera Trigger - v1
Introduction
In this project, I was trying very hard to not do an overkill project, due there are several ways to make a camera trigger from Arduino, but I want it something simple from the things I’ve already have it.
The goal of this project is to be able to make timelapses from my camera Sony, controller by IR sensor, and activate the shutter each X time. For example, if I want to make star photography, be able to make the shutter each 1 minute during 8 hours.
First, probably there are more sophisticate shutter already in the market to set the time and to be able to do exactly the same. But that is not DIY (And not fun :/ )
Final result:

Overkill
Let’s talk about this project that I’ve discarded (because there were more complex, or even more simpler and I want it something DIY and for NOW).
Automatic shutter
Exactly the thing I want. But in the market and even cheaper.
On the other hand, I don’t know if this will work for my camera.
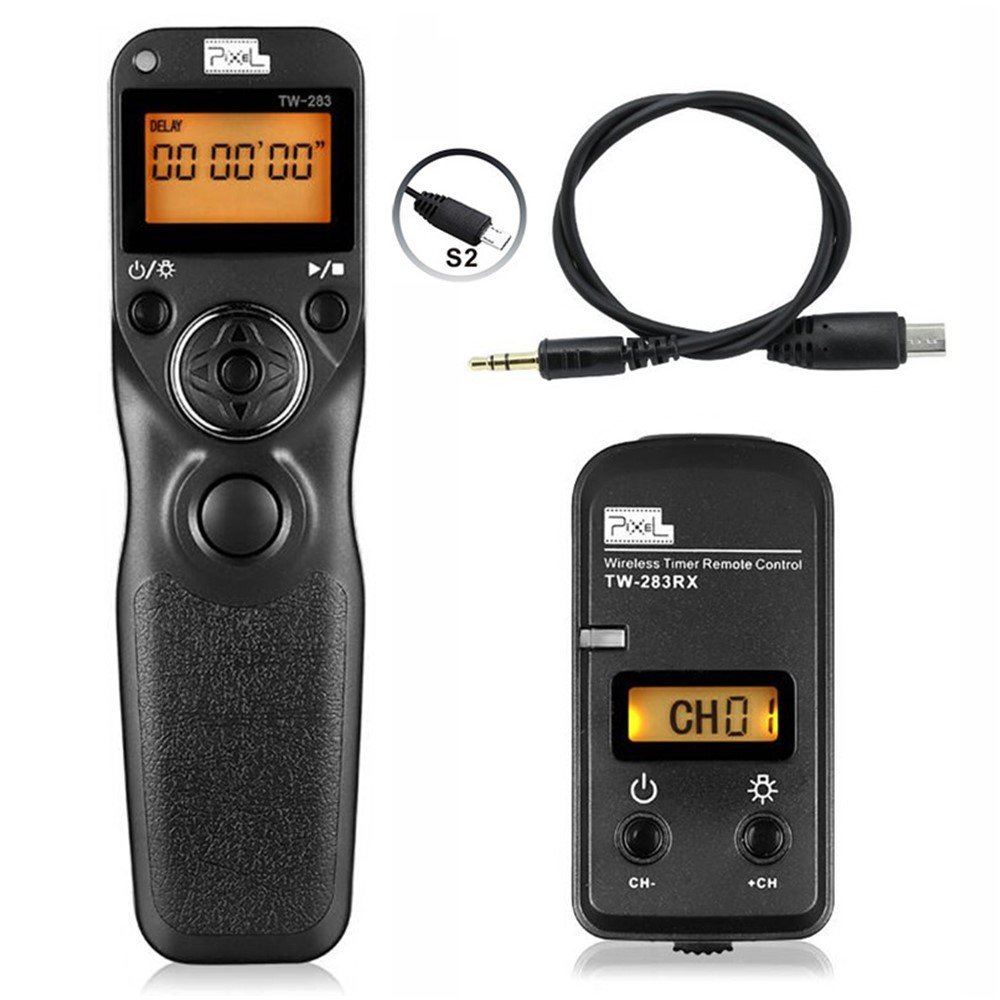 Buy in amazon
IR Led Emitter - Receiver
If you have an IR Led emitter, you can try this project and make the communication protocol IR for your camera. I’ve tried this option, but it seems it is not working for my current camera the IR code I am sending.
The same for this other project or this.
Also, there is an IR library in arduino more updated, and if you know what exactly have to send to your camera, it is going to work. If you have an IR receiver, you can even read the protocol from a simple IR control remote, copy the protocol, and implement for your IR emitter. Interesting project though, but not for this time. You can read more about IR communication in this tutorial from sparkfun.
Software
The Sony alpha series seems that they have an API to make your own programs, as an embedded application in the camera, or even from your phone.
Example application to activate the shooter
The problem with that… Even if normally I am a software guy, I don’t want to make Android applications. And there is not so much documentation about the API, so, I will prefer don’t fight so much with that, when I have a hardware solution pretty simple.
Current project.
Now, let’s talk about my chosen project.
Currently, I have this control remote.
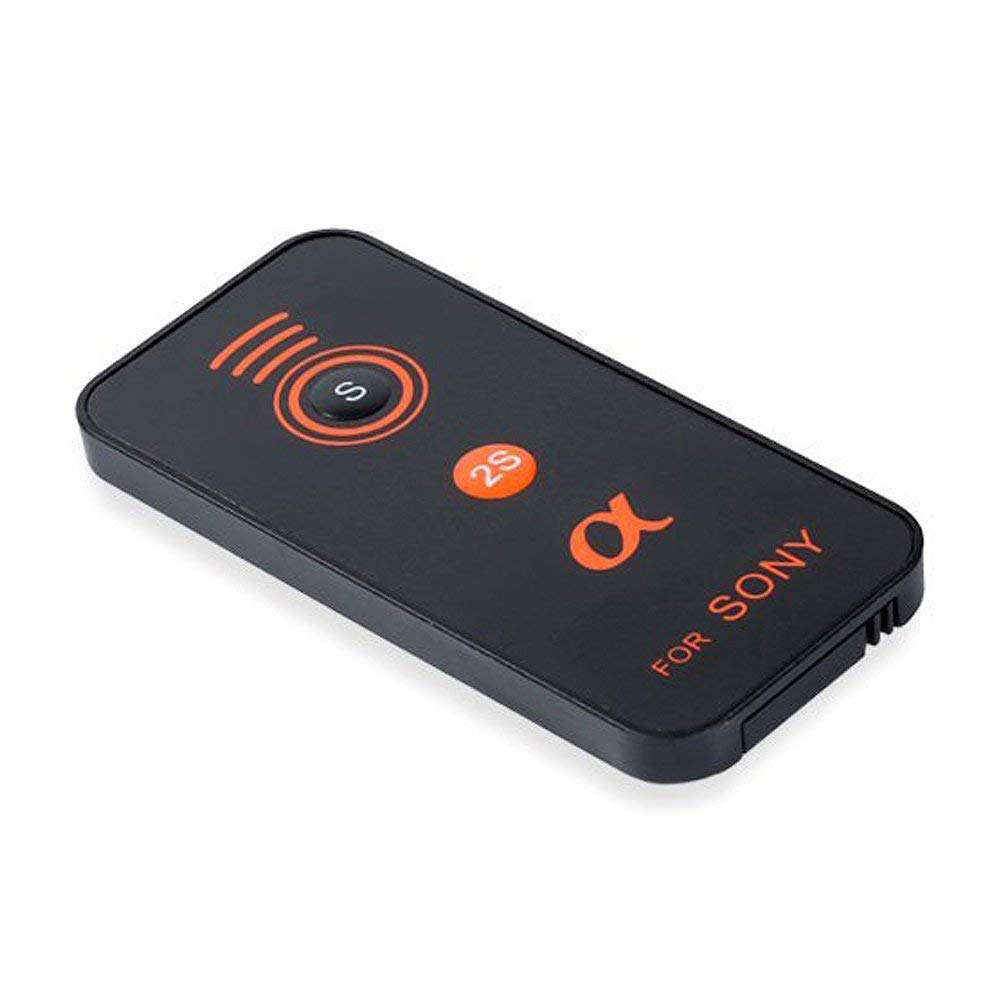 It’s working fine, you can trigger the shooter instantly, or wait 2 seconds.
Buy here
It’s working fine, you can trigger the shooter instantly, or wait 2 seconds.
Buy here
Let’s dismount what there is inside the remote control:
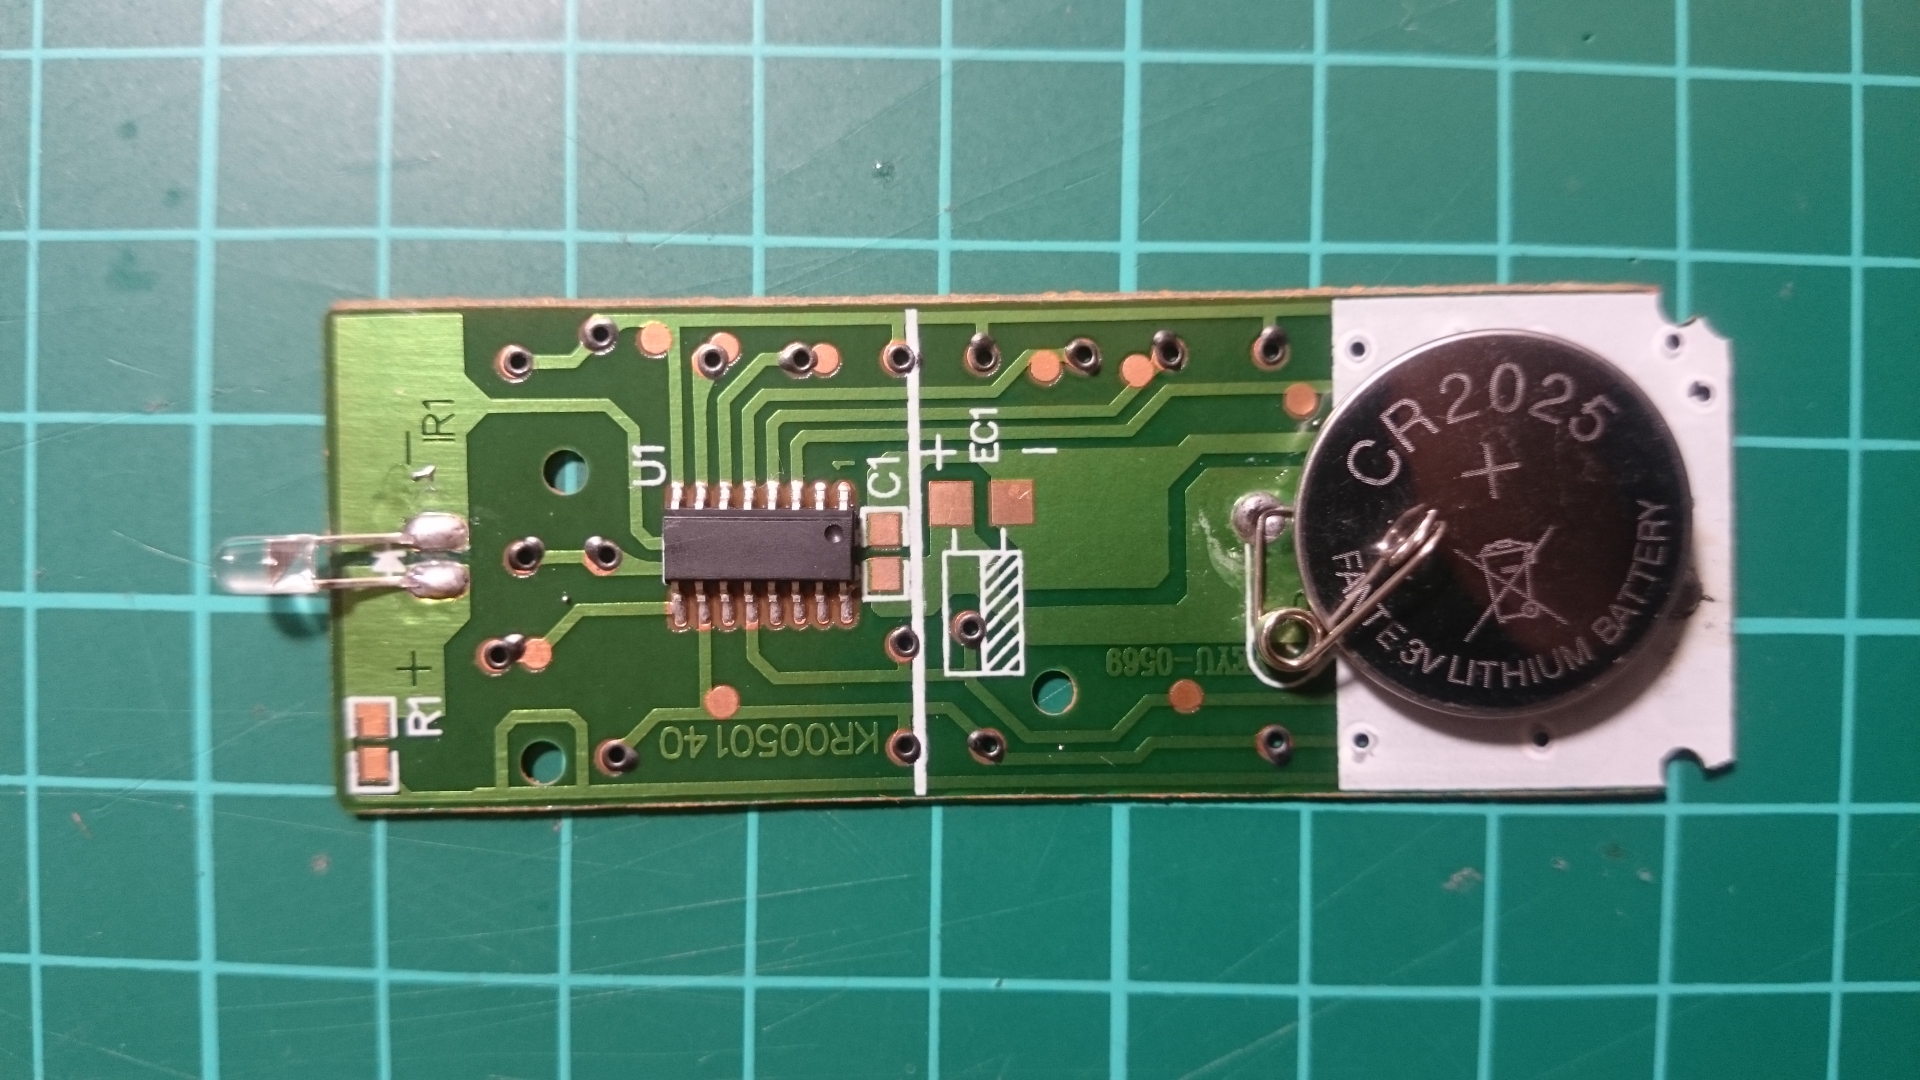
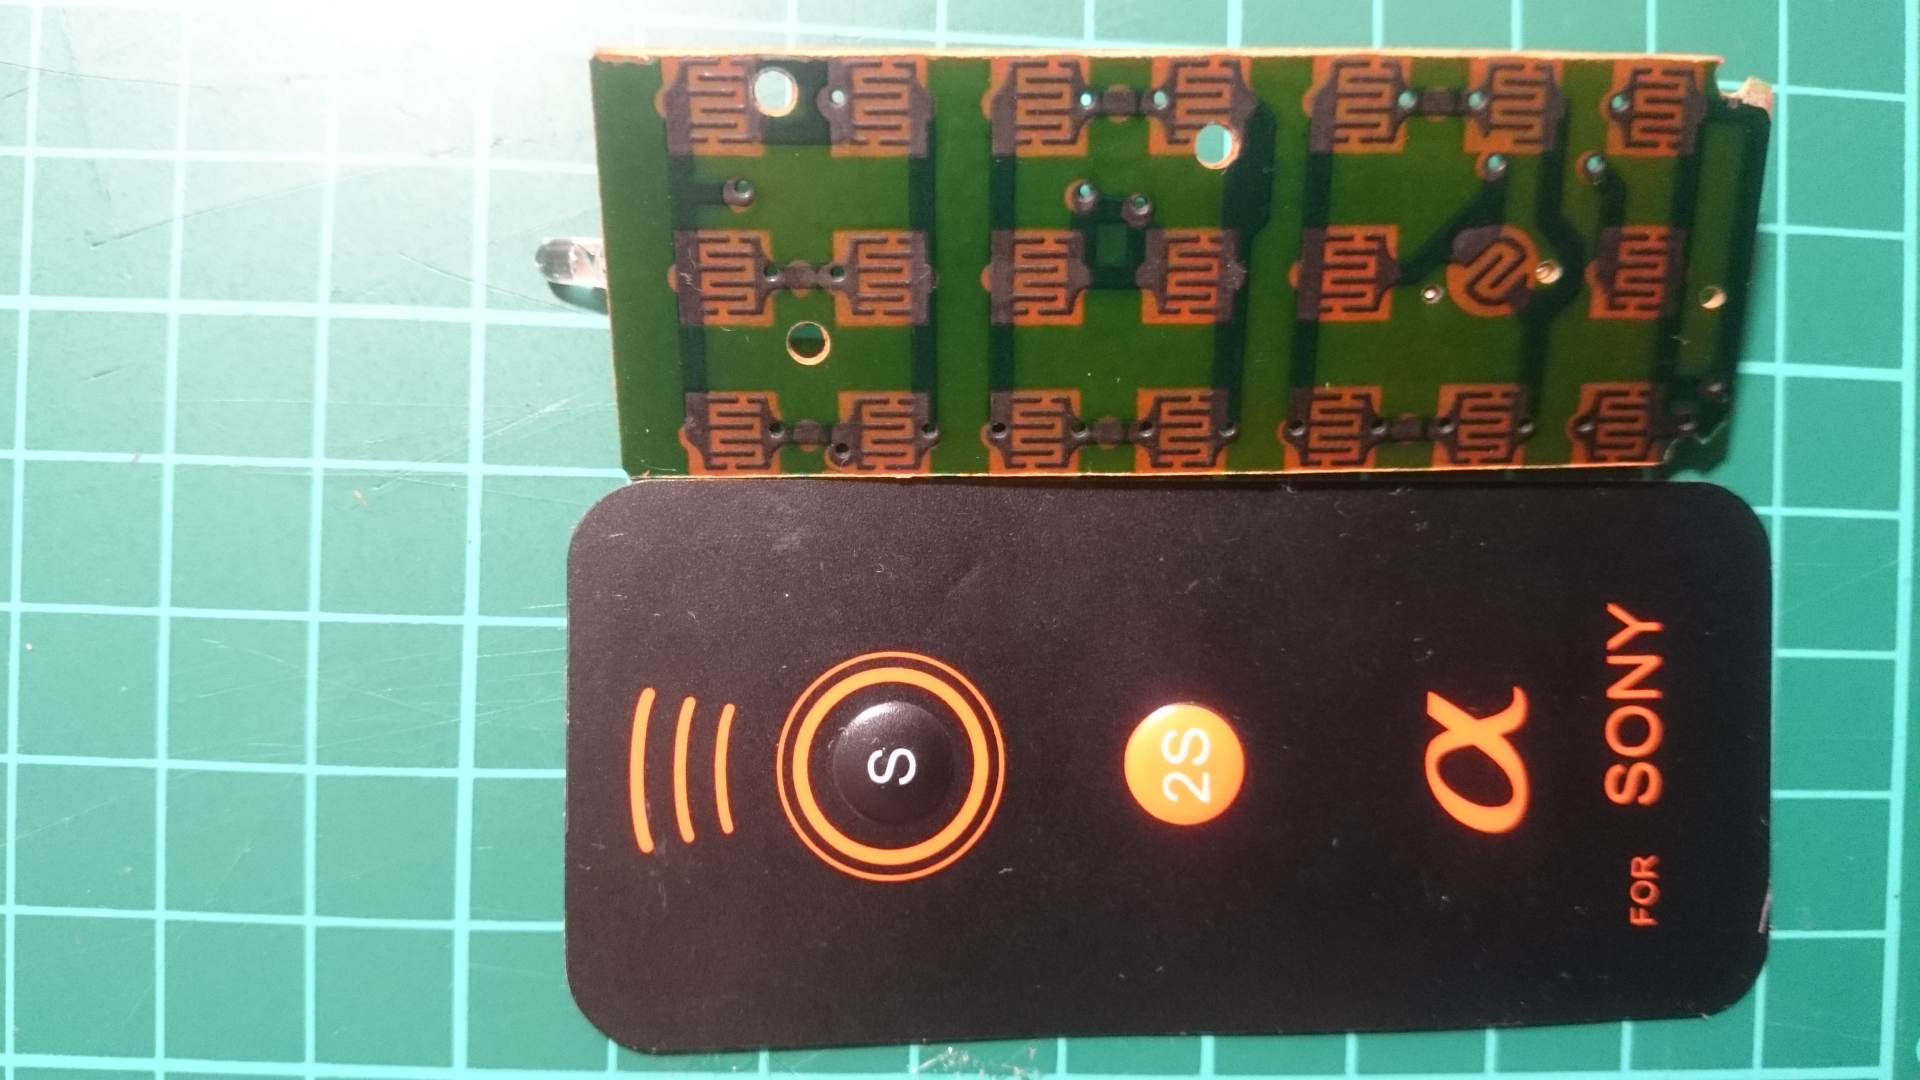
So, we have two buttons, with two metallic parts. They make the contact and short circuit to send the IR command, though that small microcontroller which I guess, the protocol is encoded.
Using a coin battery
First prototype
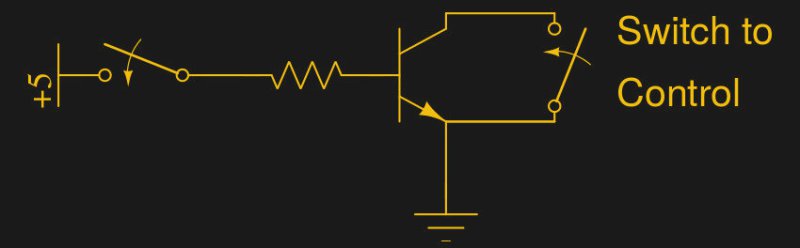
Pretty simple. So the only thing we have to do is control the switch for the trigger from Arduino.
So, it is a relay, but not a mechanical relay, an electronic relay… Wait, there is something that arrives to my thoughts, from the university… Wait a minute. Am I looking for a transistor??
And I’m going to control from an Arduino. And thinking about powering and to reduce current consummation (we will talk about this later on but, basically, the project intents to have battery for longs period) so, we will use an Arduino Mini Pro
To control the trigger, we’ve talked about a transistor. So, we can use something similar described in this tutorial or this for starting.
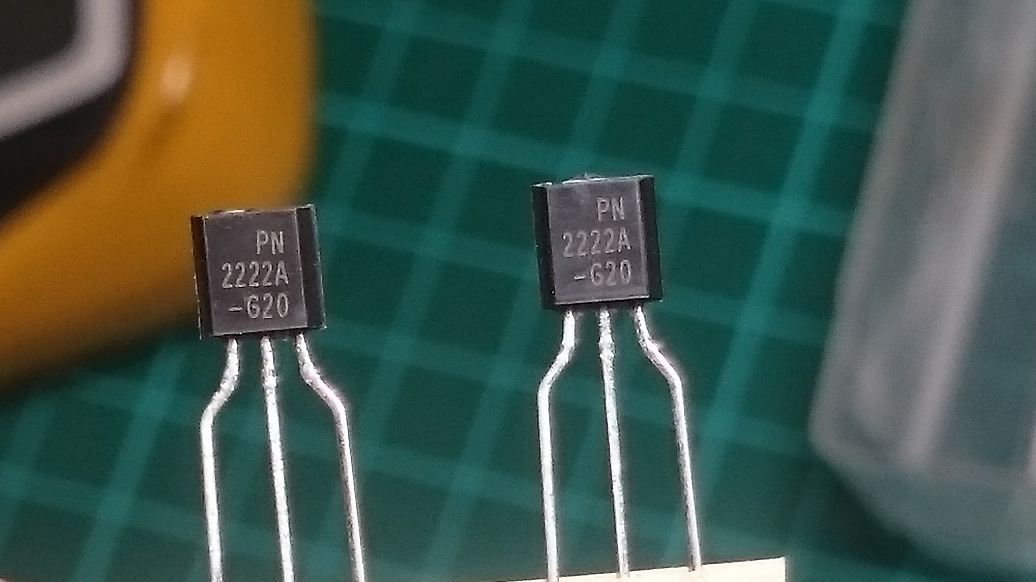
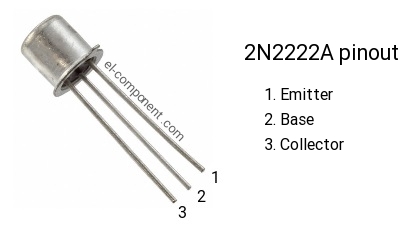
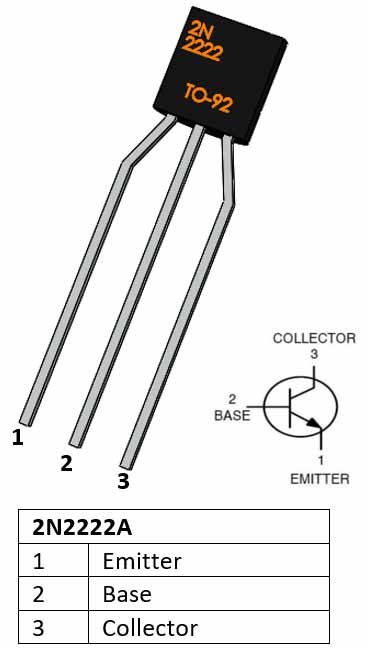
The pinout of the transistor,
or
We could control the trigger, and let the power supply (At this moment, the coin cell) powering always, or we can control the power supply (allowing the current or not) and short-cutting the trigger. I’ve decided this second option because; It’s working. At I reduce the power consummation.
Functional prototype
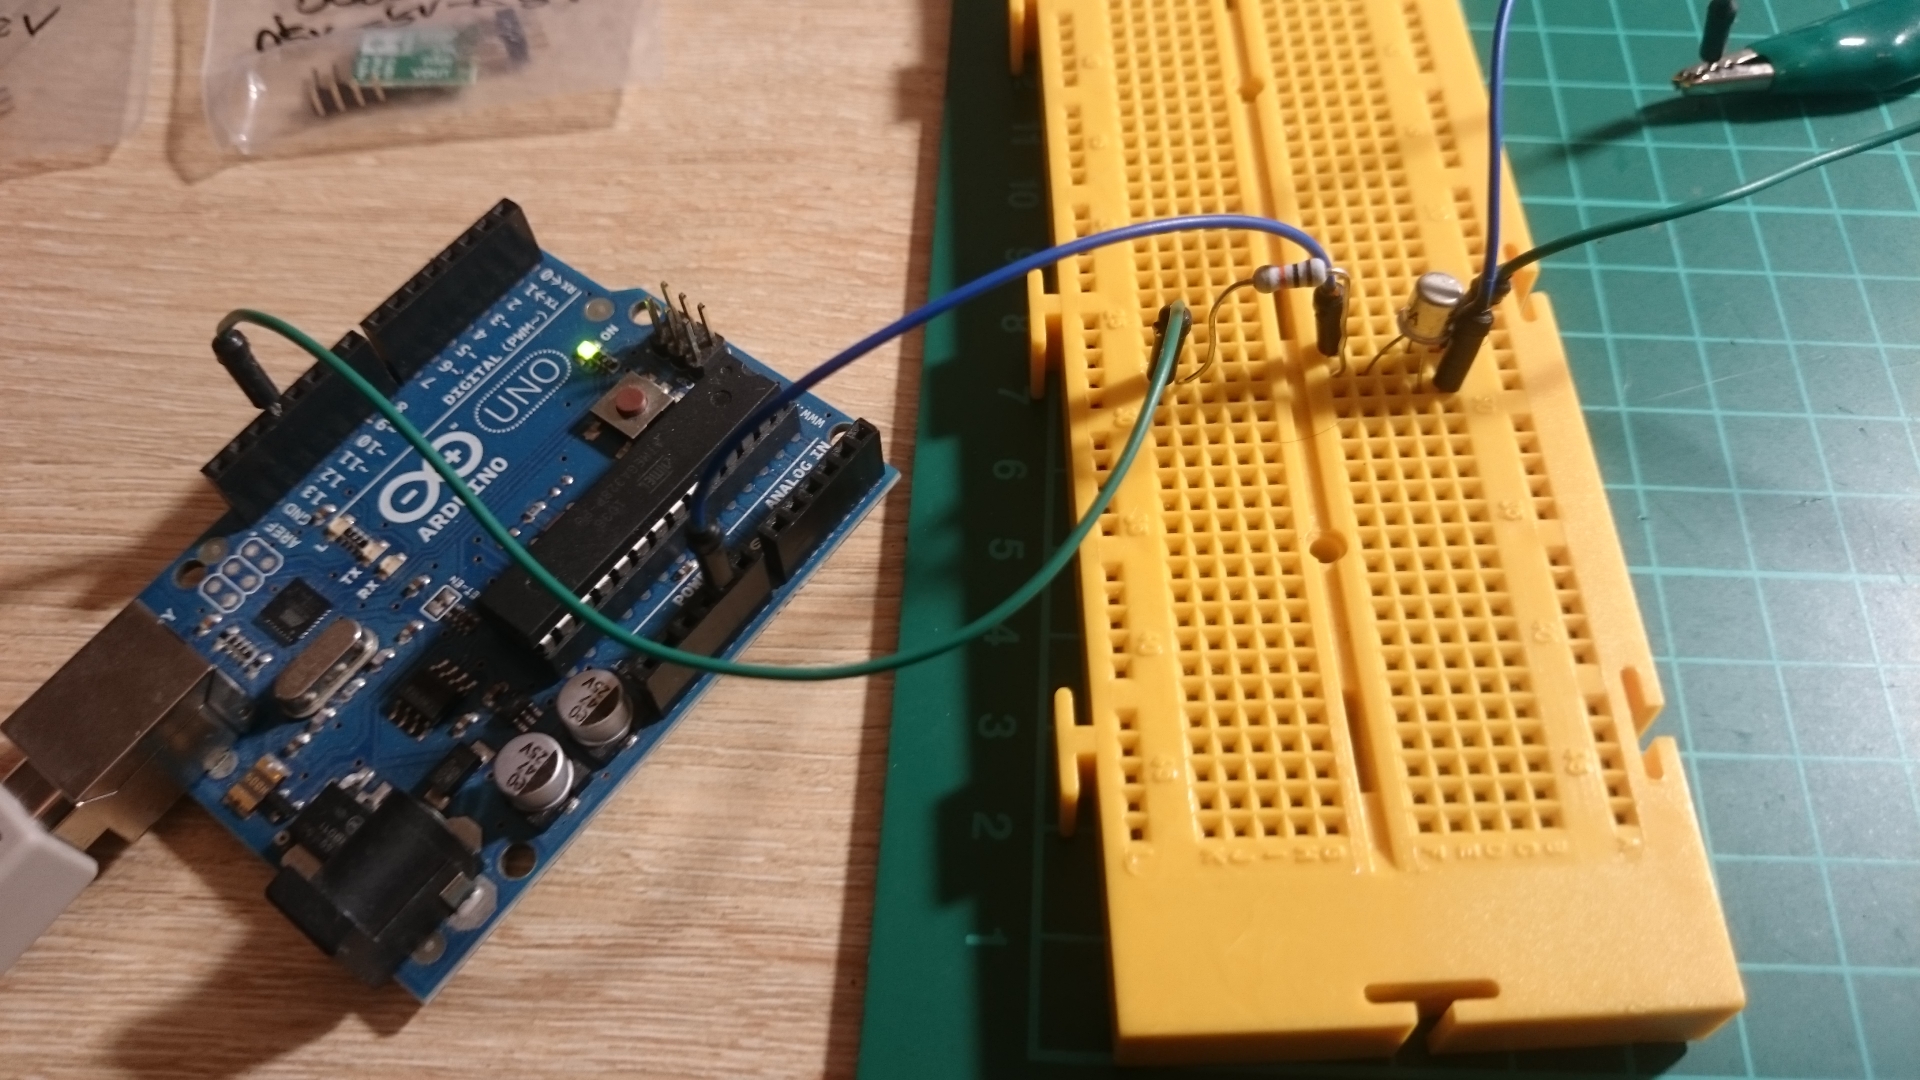
Sample Code
// the setup function runs once when you press reset or power the board
void setup() {
  // initialize Digital Outputs
  pinMode(12, OUTPUT);
  pinMode(13, OUTPUT);
}

// the loop function runs over and over again forever
void loop() {
  digitalWrite(12, HIGH);
  digitalWrite(13, HIGH);
  delay(1000);
  digitalWrite(12, LOW);
  digitalWrite(13, LOW);
  delay(5000);
}