Arduino To Breadboard: Atmega328 / Atmega168 w/o oscillator (Internal 8MHz)
Introduction
I’ve learned in previous post about bootloader and programming an Arduino in a Breadboard with external oscillator 16Mhz, but using the internal is more tricky than I thought.
Background
In the official tutorial, in the Minimal Circuit paragraph, talks about update the bootloader without external clock, using only the internal clock 8Mhz.
The steps following the official tutorial,
- Download this hardware configuration archive: breadboard-1-6-x.zip
- Create a “hardware” sub-folder in your Arduino sketchbook folder (whose location you can find in the Arduino preferences dialog). If you’ve previously installed support for additional hardware configuration, you may already have a “hardware” folder in your sketchbook.
- Move the breadboard folder from the zip archive to the “hardware” folder of your Arduino sketchbook.
- Restart the Arduino software.
- You should see “ATmega328 on a breadboard (8 MHz internal clock)” in the Tools > Board menu.
- Once you’ve done this, you can burn the bootloader and upload programs onto your ATmega328 as described above. Be sure to select “ATmega328 on a breadboard (8 MHz internal clock)” when burning the bootloader. (If you select the wrong item and configure the microcontroller to use an external clock, it won’t work unless you connect one.)
This is not straightforward as shows; First, the “board selection” is really how to configure the hardware in your atmega. In other words, the hex file is the bootloader of the microcontroller.
Then, the boards.txt is the configuration of the fuses in your atmega. This is important, because thanks to the fuses, you will configure the clock (External, Internal and which frequency), if you use a BOD and so on.
Until now, we use the Arduino as ISP, but this means there are other programming tools you can use for programming via ISP. I read the Arduino is not the best tool for programming, so I will buy one asap.
When using the Arduino IDE for programming with Arduino as ISP, we are using avrdude progam, which we could use it externally as a command (See chapter Programming via terminal - avrdude)
Possible problems
- I am using a Linux PC (Ubuntu 16.04) for connecting the Arduino and programming. I’ve read on Windows the Arduino may have another behavior.
-
If you have the following problem when programming, be sure you have the 10 uF capacitor between reset and ground on the programmer. If it is a electrolytic capacitor, make sure the positive is on the reset pin (See this arduino forum question for more information)
avrdude: stk500_getparm(): (a) protocol error, expect=0x14, resp=0x14 avrdude: stk500_getparm(): (a) protocol error, expect=0x14, resp=0x01 avrdude: stk500_initialize(): (a) protocol error, expect=0x14, resp=0x10 avrdude: initialization failed, rc=-1 Double check connections and try again, or use -F to override this check.
-
You may have the error Device signature = 0x000000. Normally is because the target chip’s clock is not working. An atmega needs the crystal oscillator for burn a bootloader, so, you forgot the oscillator, or you are going to use the internal oscillator 8Mhz but the fueses are configured for using an external.Forum link
avrdude: Device signature = 0x000000 avrdude: Yikes! Invalid device signature. Double check connections and try again, or use -F to override this check.
Boards
We should have the configuration of the boards and the hex with the bootloader. Otherwise, creating one from zero is something for someone very expert on the topic.
- We could copy paste some bootloader from the core of Arduino.
- We could use the bootloader already configure from the official tutorial breadboard-1-6-x.zip.
- And, there is a nice library, MiniCore, which allow to you select the atmega and the version you want, what oscillator want to use or if using a BOD and which what voltage.
Programming via terminal - avrdude
The sparkfun tutorial describes what they call as the hard way for programming. But if we are desperate..
There are two steps in this process:
- Set Fuse Bits (i.e. Low, High, and Extended)
- Flash .hex File and set Lock Bits
First, you could see what are the commands use by Arduino IDE, if you set some preferences:
File > Preferences
"Show verbose output during:" > Compilation and Upload
Then, sparkfun recommends the following commands. For burning the bootloader,
avrdude -P comport -b 19200 -c avrisp -p m328p -v -e -U efuse:w:0x05:m -U hfuse:w:0xD6:m -U lfuse:w:0xFF:m
for programming,
avrdude -P comport -b 19200 -c avrisp -p m328p -v -e -U flash:w:hexfilename.hex -U lock:w:0x0F:m
On the other hand, there is someone who tried the debug mode with gdb on Linux to execute the avrdude slowly, so, it gives time to Arduino to program.
From my point of view and with some test performed, the problem could be resolved via hardware (With the capacitor reset-ground), but it is true it is working better in debug mode.
If you have more question about avrdude, it is documented in http://www.nongnu.org/avrdude/
And some tips from Arduino about the Bootloader Development
Personal project
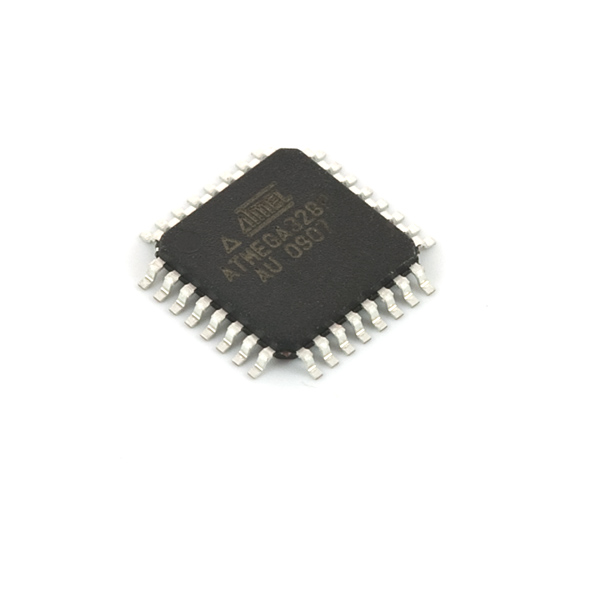
I have an Atmega328p without external clock (So, only the internal clock at 8Mhz) that I want to burn the bootloader and program. The component is in SMD format, in a package 32-pin TQFP.
The computer for burning the bootloader and programming is a Linux PC (Ubuntu 16.04).
I am using Arduino Uno rev3 as Arduino as ISP, with Arduino IDE 1.8.7.
I’ve downloaded the MiniCore library and I saw the commands in the Arduino verbose.
I’ve selected the Arduino 328p, with internal 8Mhz clock and the BOD 1.8V (I’m going to use a small battery, so I wanted to reduce the shutdown of the atmega to the minimum).
Burning the bootloader
Command from Arduino IDE (Therefore, we could use this command from outside)
/opt/arduino-1.8.7/hardware/tools/avr/bin/avrdude -C/home/aherrero/.arduino15/packages/MiniCore/hardware/avr/2.0.1/avrdude.conf -v -patmega328p -carduino -P/dev/ttyACM0 -b19200 -e -Ulock:w:0x3f:m -Uefuse:w:0xfe:m -Uhfuse:w:0xd6:m -Ulfuse:w:0xe2:m
You should see the hardware information and several reading and writing,
Reading | ################################################## | 100% 0.01s
Writing | ################################################## | 100% 0.01s
After that a command,
/opt/arduino-1.8.7/hardware/tools/avr/bin/avrdude -C/home/aherrero/.arduino15/packages/MiniCore/hardware/avr/2.0.1/avrdude.conf -v -patmega328p -carduino -P/dev/ttyACM0 -b19200 -Uflash:w:/home/aherrero/.arduino15/packages/MiniCore/hardware/avr/2.0.1/bootloaders/optiboot_flash/atmega328p/optiboot_flash_atmega328p_UART0_38400_8000000L.hex:i -Ulock:w:0x0f:m
And finally, a beautiful and simple response,
avrdude done. Thank you.
Programming
There are a lot of commands for programming a simple Blink. First, the Arduino IDE has to compile an create the program in .hex;
- Using arduino-builder
- After, using avr-g++ for compiling and linking
-
After that, the command avrdude to send the program to the arduino
/opt/arduino-1.8.7/hardware/tools/avr/bin/avrdude -C/home/aherrero/.arduino15/packages/MiniCore/hardware/avr/2.0.1/avrdude.conf -v -patmega328p -carduino -P/dev/ttyUSB1 -b38400 -D -Uflash:w:/tmp/arduino_build_811001/Blink.ino.hex:i
And the pleasant,
avrdude done. Thank you.