Robotic Arm - 3D Printed
Introduction
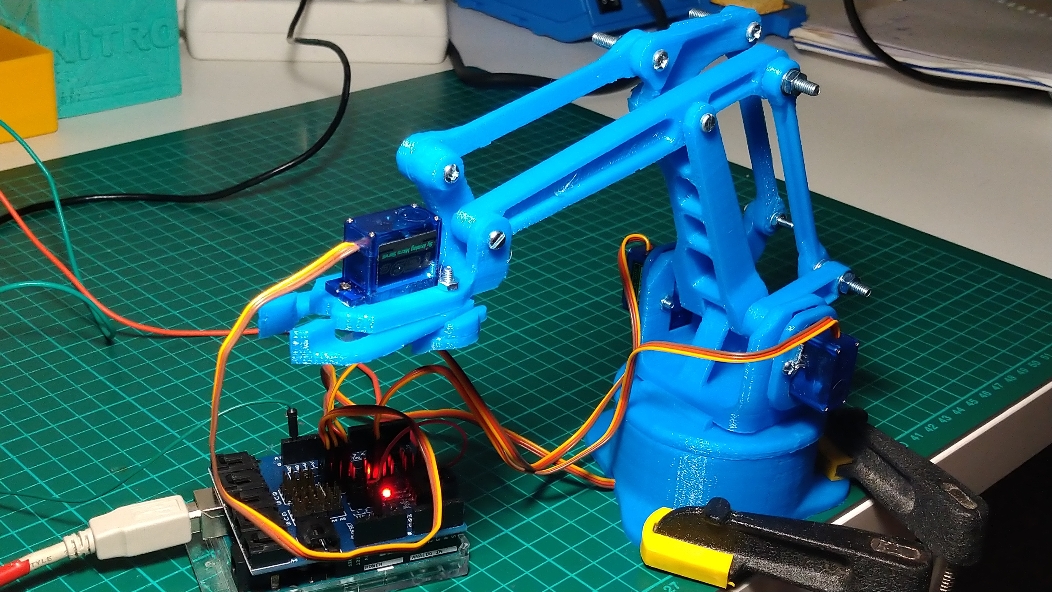
Following this great tutorial from theGHIZmo, I was able to build this simple robot.
It is not so impressive as the one from the author, but incredible what we can do only printing the design, assembling and doing a quick test.
I feel like assembling an IKEA furniture!
3D Printing
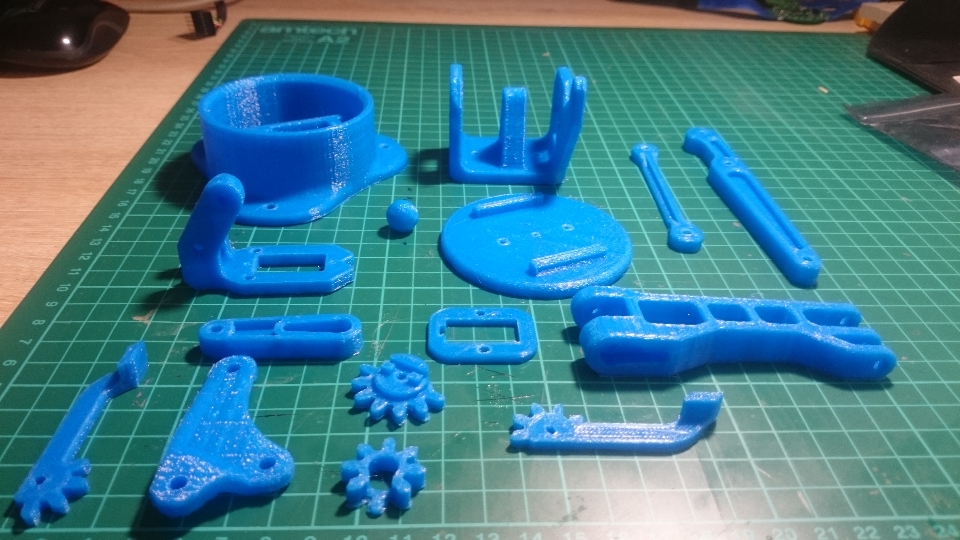
One of my first 3D printed object was this robotic arm, but I’ve never finished due some material missing, but the 3D printing was pretty good,
Bulding
The assembling of all parts is not a big deal, following the instructions from the instructables, including the list of materials.
Test and results
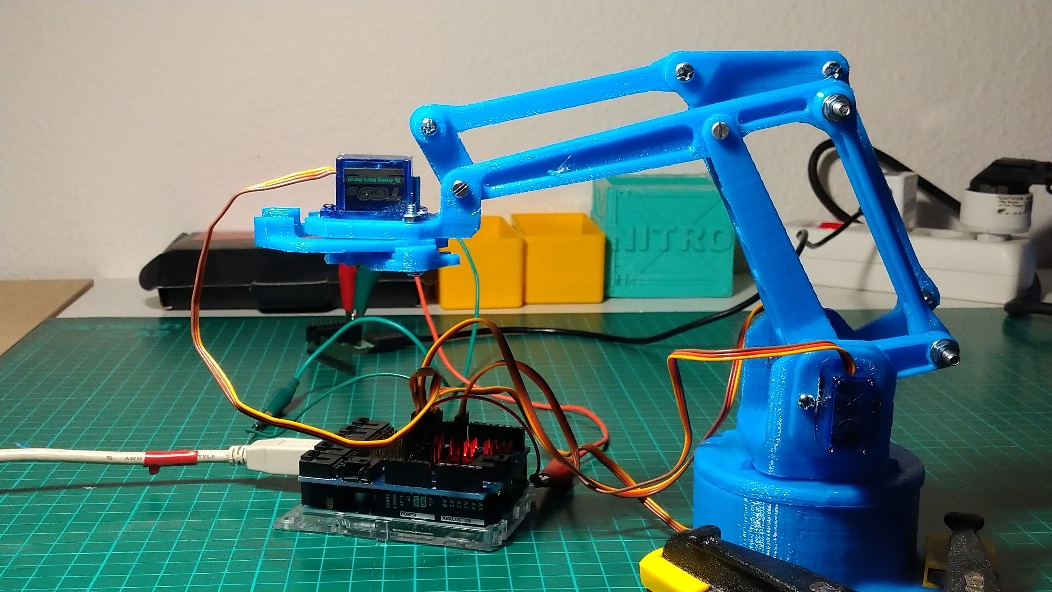
For testing, I’ve use an Arduino Uno and a shield for motors / servos, to easy connect everything.
Also, I’ve use a phone charger and the Arduino port Vin, in the case the current was a bit low for all the servos (From the charger I have 2A)
Then, a simple software for controlling the servos in a independent way, from the keyboard.
Using A D, W S, J L, I K, I am able to control all the servos, sending a signal for moving from 0 degrees up to 180 degrees (Or up to the physical HW limits, still without calculate).