First 3D printer - Anet a8
Introduction
This is our first 3D printer!
After several years after my friends got a 3d printer, we decide to get one, at least, the basic and cheaper one, and this is the printer we found… With unexpected very good results!
In all3dp you find a good review from the Anet a8.
And you can find this 3d printer from around 130 euros
There is another 3d printer apparently with similar results, it is the Creality Ender 3, from 200e.
If we compare with the next low-cost 3d printer with similar quality results, we will go to the original Prusa, from… 500 euros!
If we go more professional, we could buy one from Ultimaker or the BQ version, both from thousand euros.
Build process
The Anet a8 comes as a big kit of IKEA: everything ready to be assembled and print. But in this case, the manual from the manufacturer is not great, but the videos are fine.
Manufacturer’s instructions
External help
As we didn’t feeling like following the official videos, we find some other places like this one or this another one in Spanish.
We spent around 1 week every afternoon assembling the printer and doing the first print. It is not difficult at all, but needs some time.
Pictures
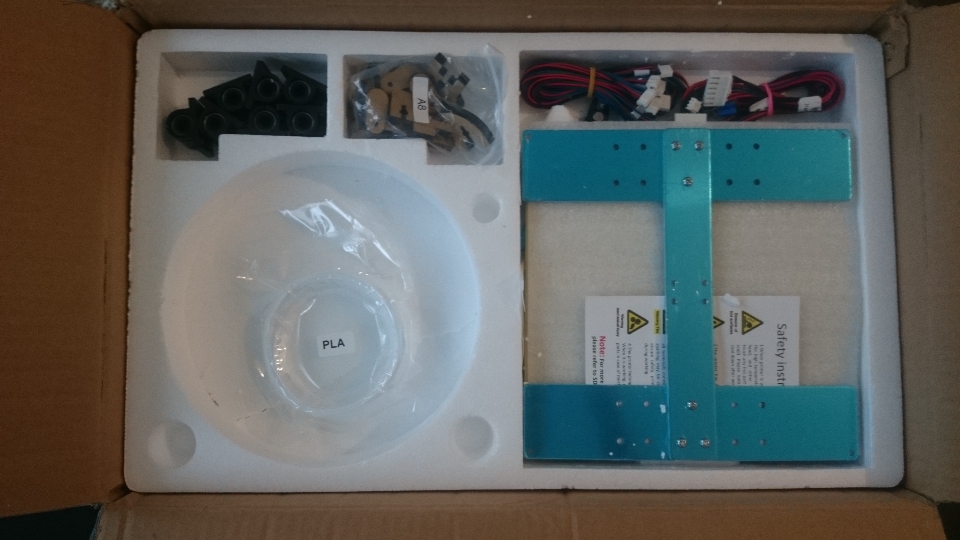
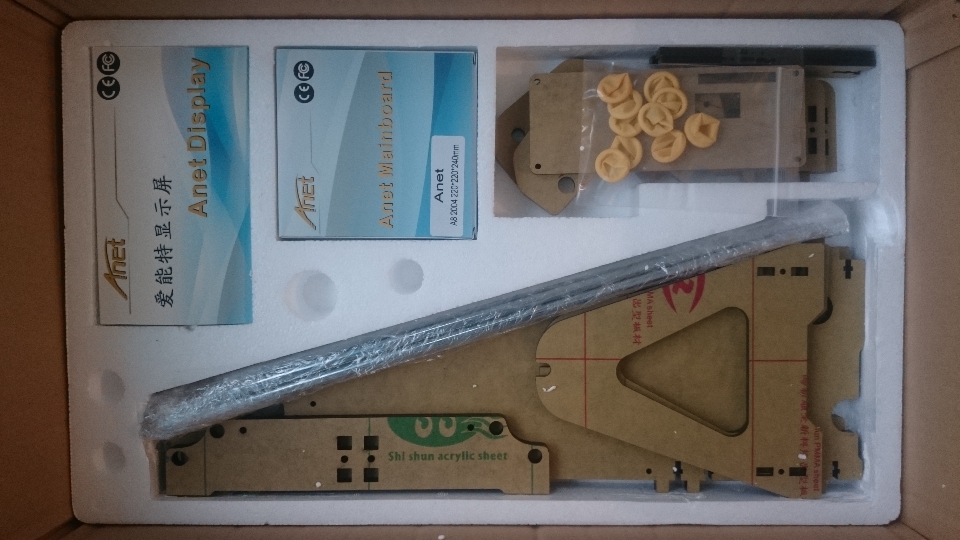
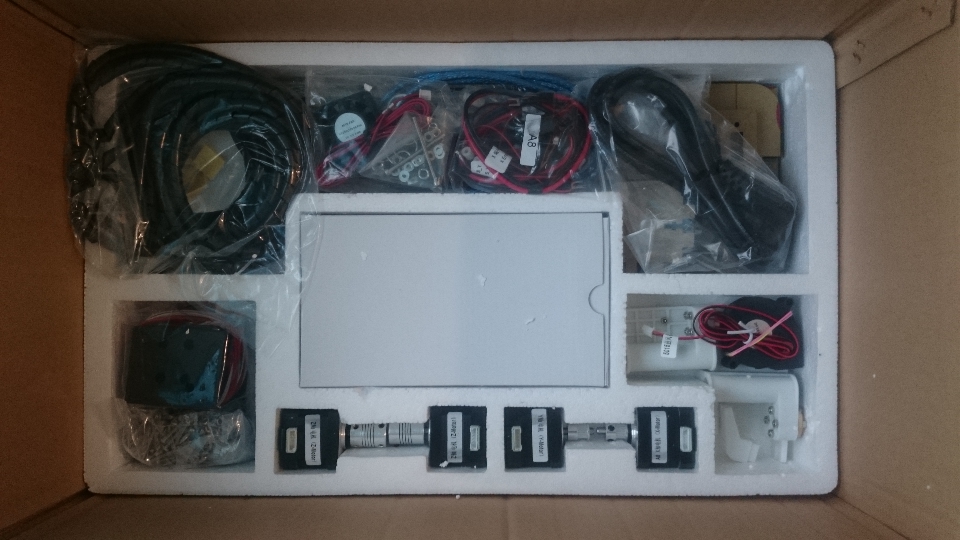
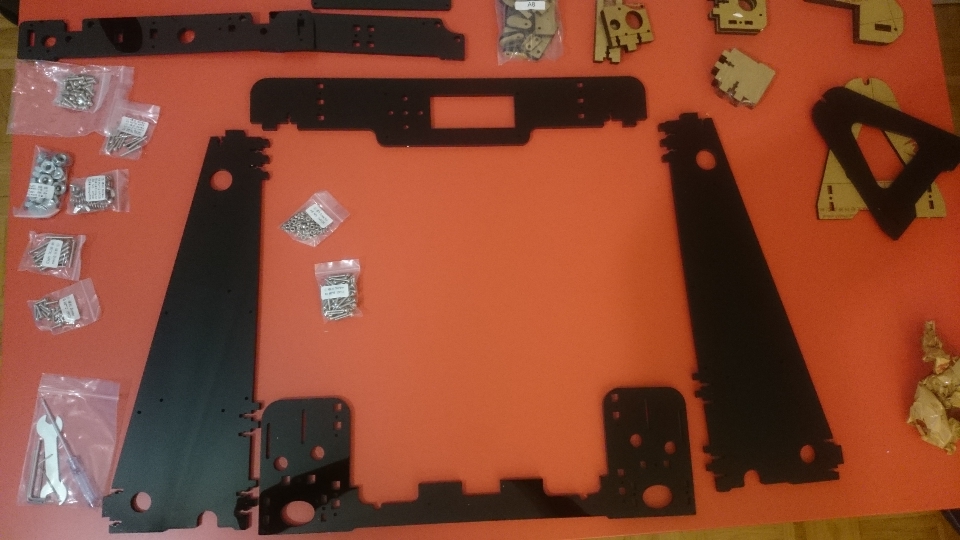
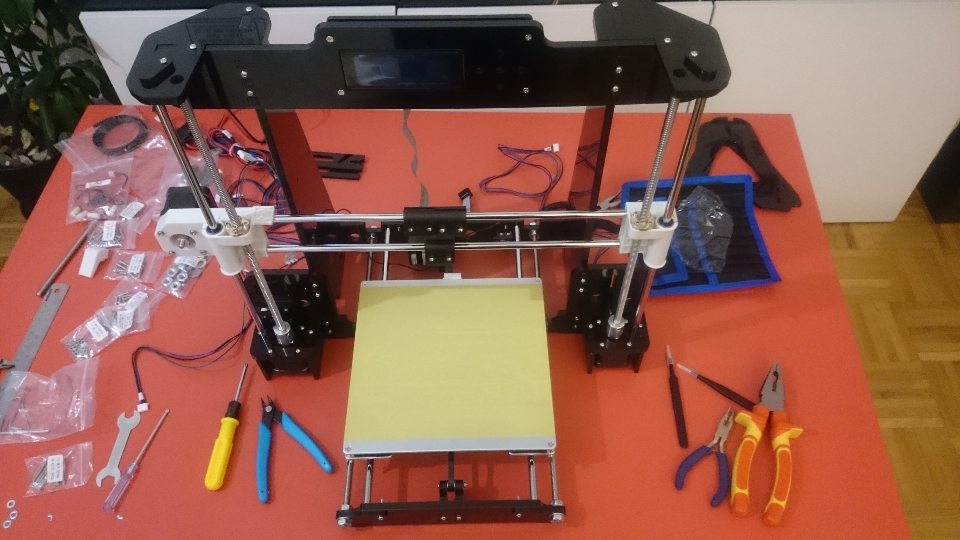
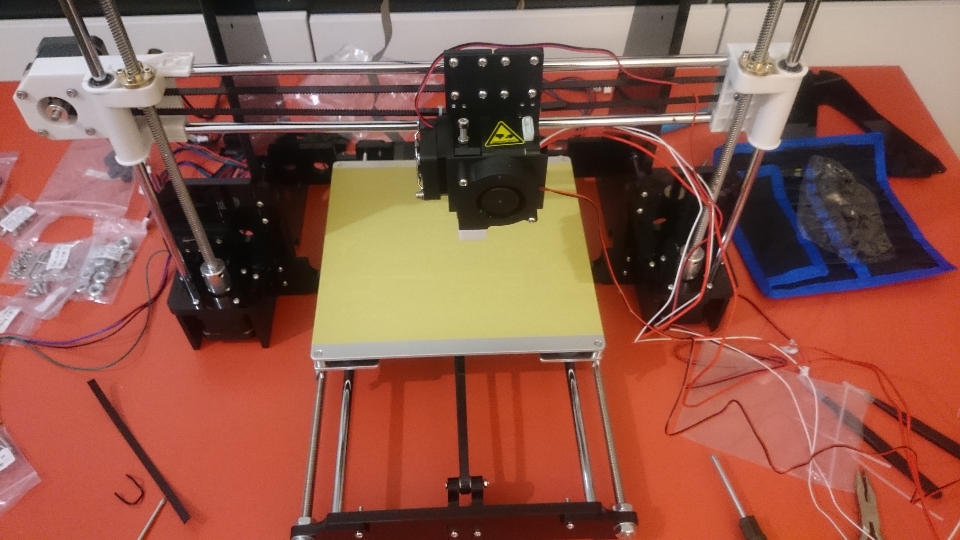
This is the kit I mentioned,
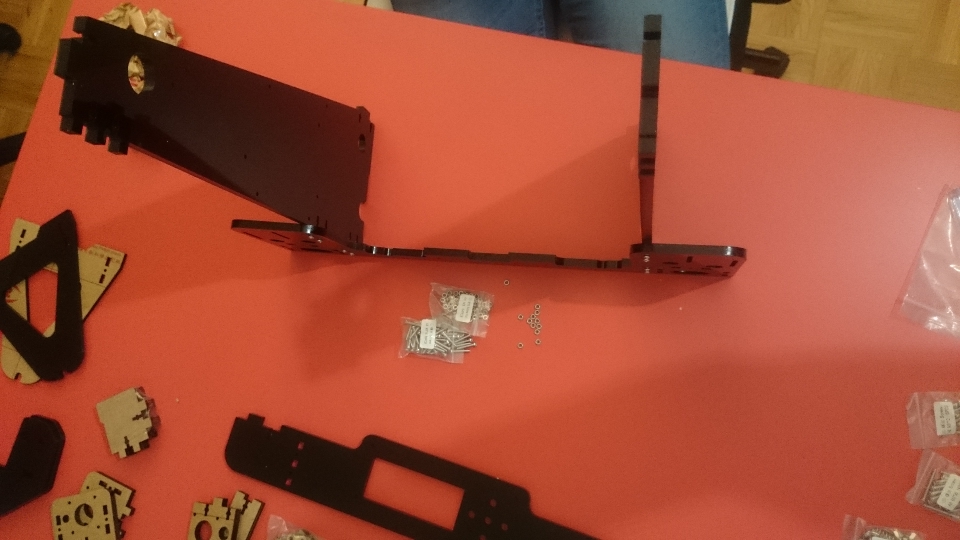
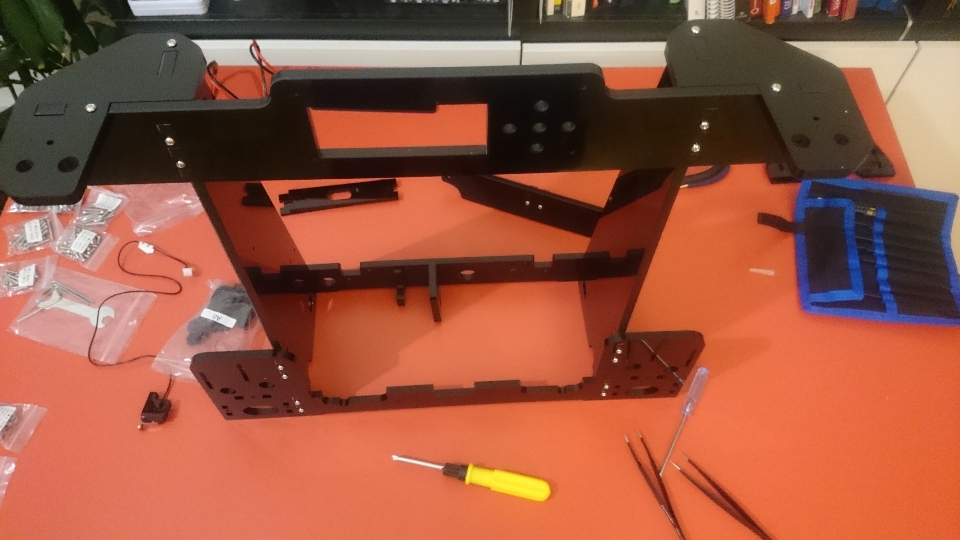
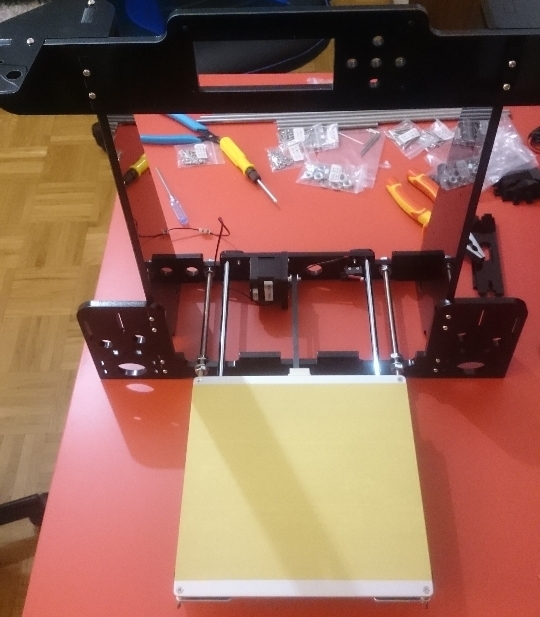
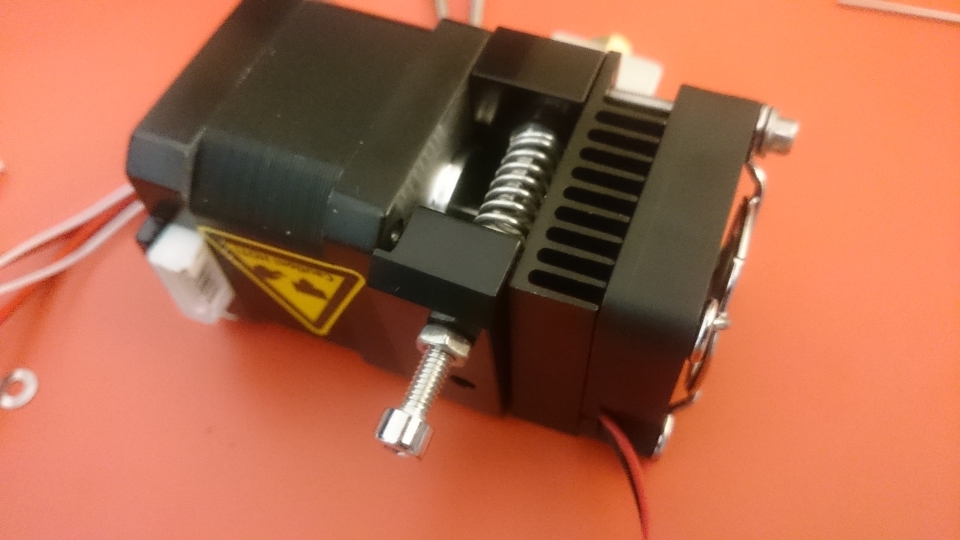
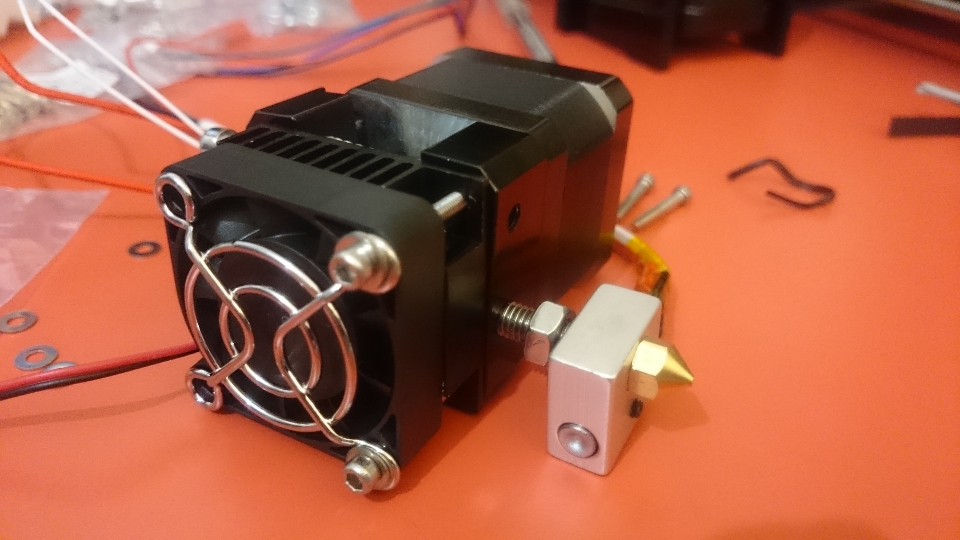
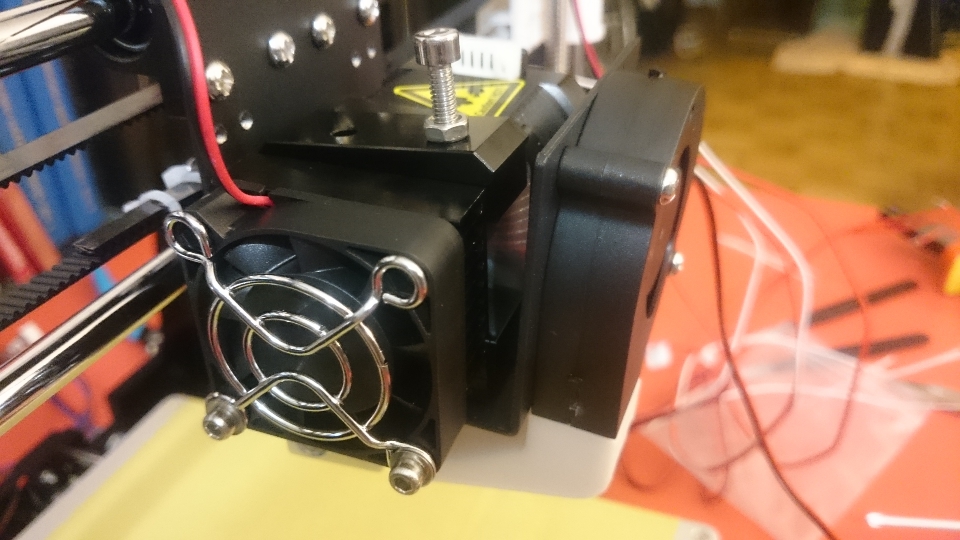
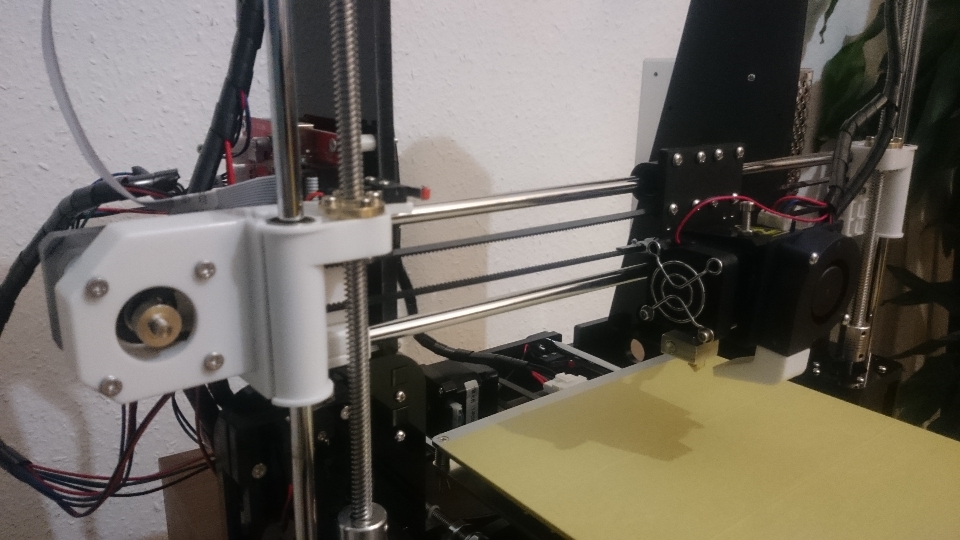
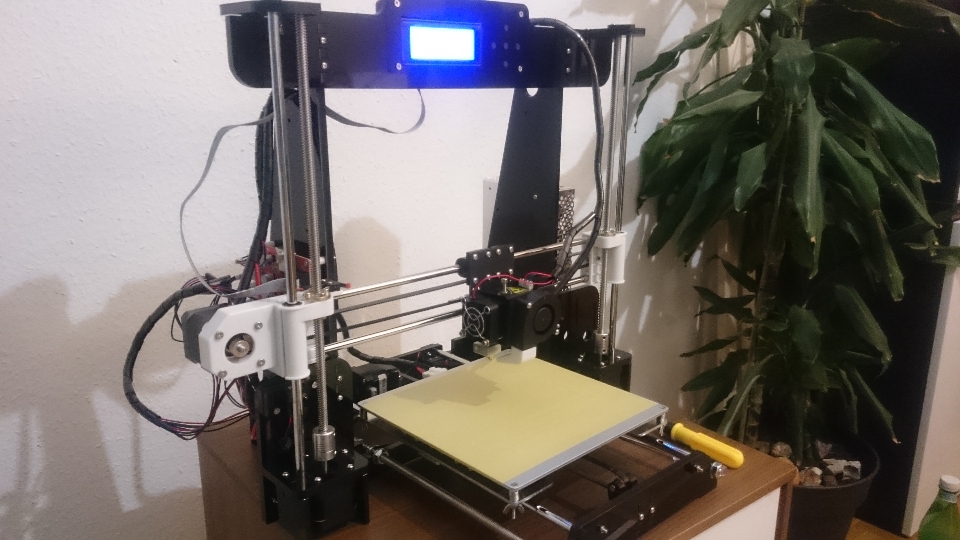
And assembling the printer following the videos…
| Assembling process | |
|---|---|
 |
 |
 |
 |
 |
 |
 |
 |
 |
 |
 |
First print
After that, it is the time to check if everything is correct (powering on, the screen message seems OK, etc.)
Then, the calibration. Some of the videos above shows how to calibrate.
We only had one problem: The rod that joins the two axis Z1 and Z2 wasn’t pressed correctly, that makes the two axes Z was not parallel. There is also another problem with the parallelism of the axes that you could read in this stackexchange. But when we press the tow axes into the plastic until the end, the “Home all” position was correct.
Then, the cura software. It is the software that convert your 3d model (STL format) into a language that your printer can understand (gcode), basically slicing your 3D into layers and positioning XYZ, temperature, speed… for each point. It is like the “compiler” for your software, where your general code has different assembly code for the different machine.
Here some instructions for the cura software, and then some parameters it seems OK for the anet a8.
Start Gcode
G21        ;metric values
G90        ;absolute positioning
M82        ;set extruder to absolute mode
M107       ;start with the fan off
G28 X0 Y0  ;move X/Y to min endstops
G28 Z0     ;move Z to min endstops
G1 Z15.0 F3600 ;move the platform down 15mm
G92 E0                  ;zero the extruded length
G1 F200 E6              ;extrude 6mm of feed stock
G92 E0                  ;zero the extruded length again
G1 F3600
M117 Printing...
End Gcode
M104 S0                     ;extruder heater off
M140 S0                     ;heated bed heater off (if you have it)
G91                         ;relative positioning
G1 E-1 F300                 ;retract the filament a bit before lifting
the nozzle, to release some of the pressure
G1 Z+0.5 E-5 X-20 Y-20      ;move Z up a bit and retract
filament even more
G28 X0 Y0                   ;move X/Y to min endstops, so the head
is out of the way
G1 X0 Y+180 F3600              ;move buildplate forward
M84                         ;steppers off
G90                         ;absolute positioning
And about the cura configuration, I took the draft presetting and I change only the Layer Height to 0.2mm and the Print speed to 40 mm/s.
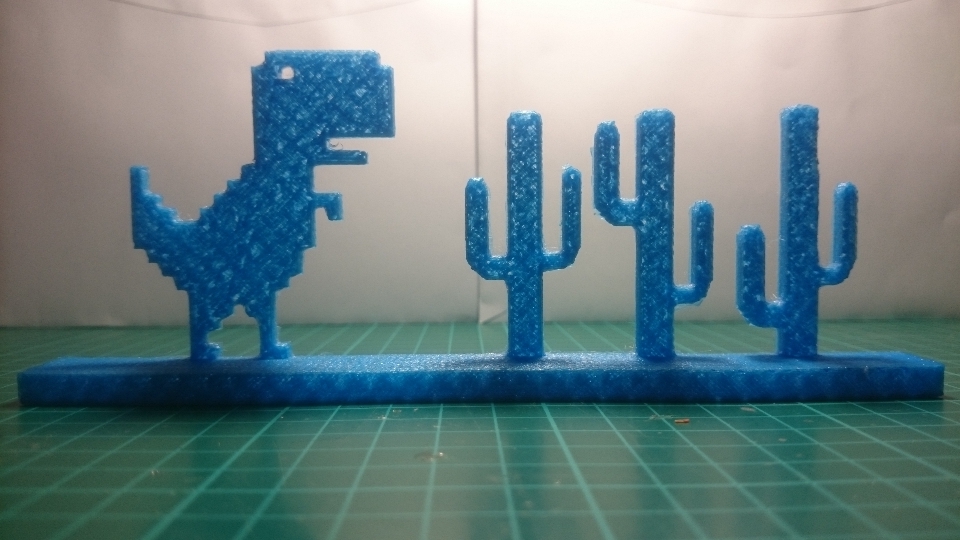
After that, go to thingverse and print something =D
Results
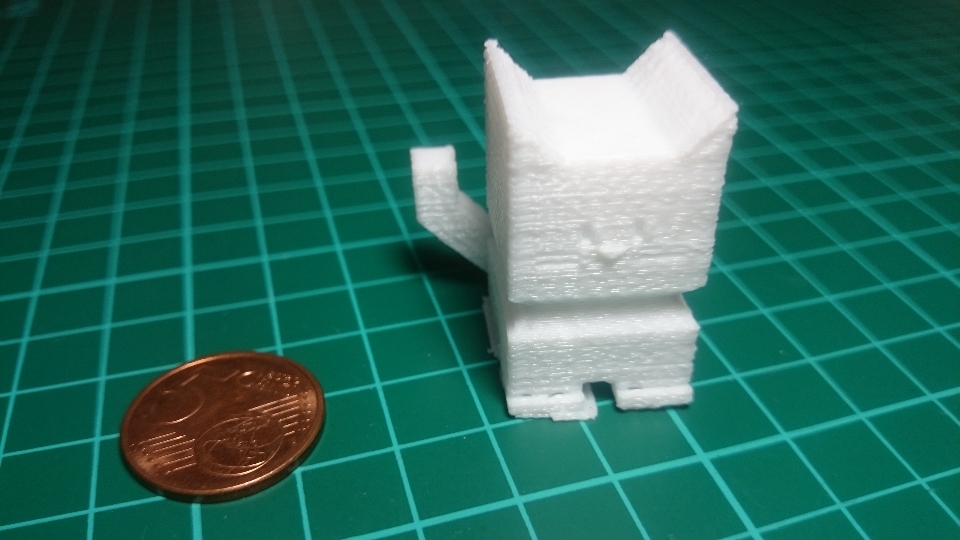
The first print was not so ideal. We learnt more about the calibration process, the distance between the extruder and the hot bed… etc.
| First print | |
|---|---|
 |
 |
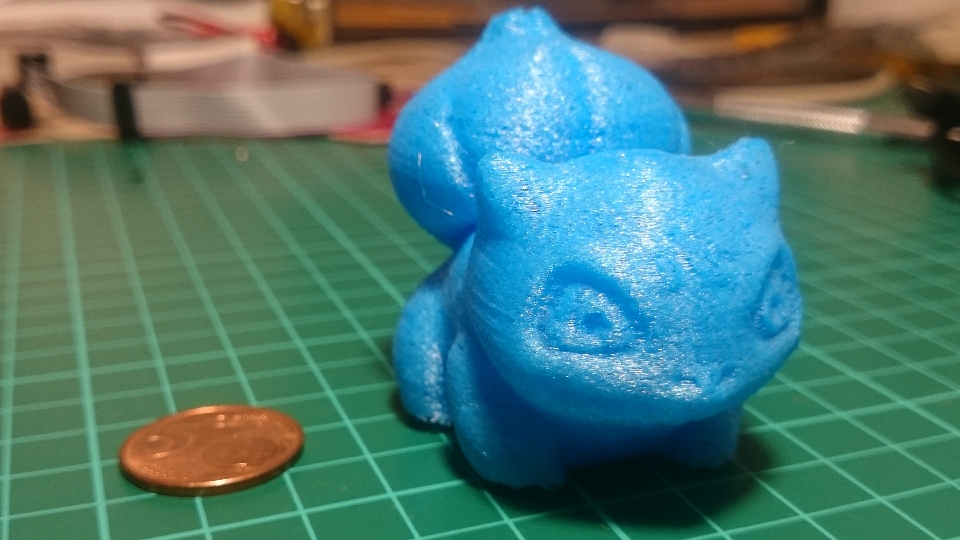
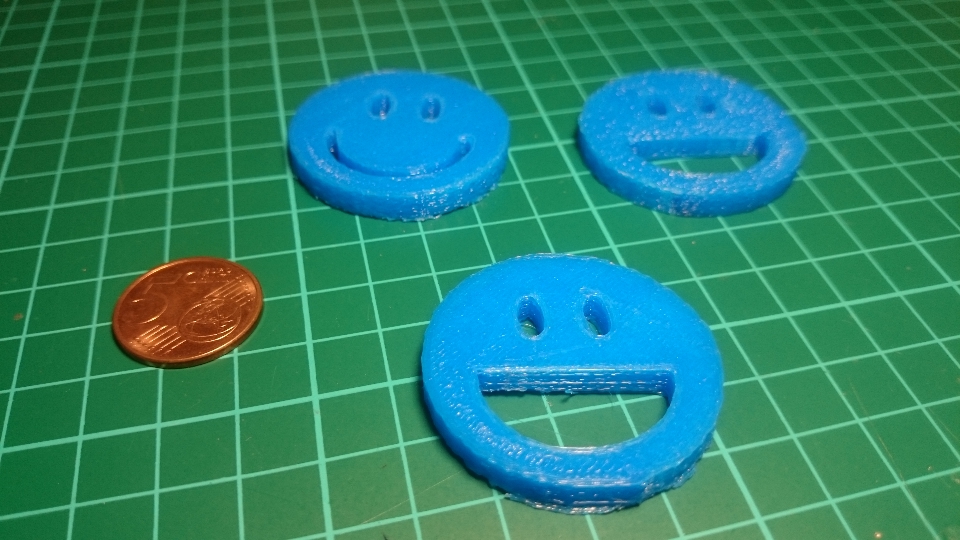
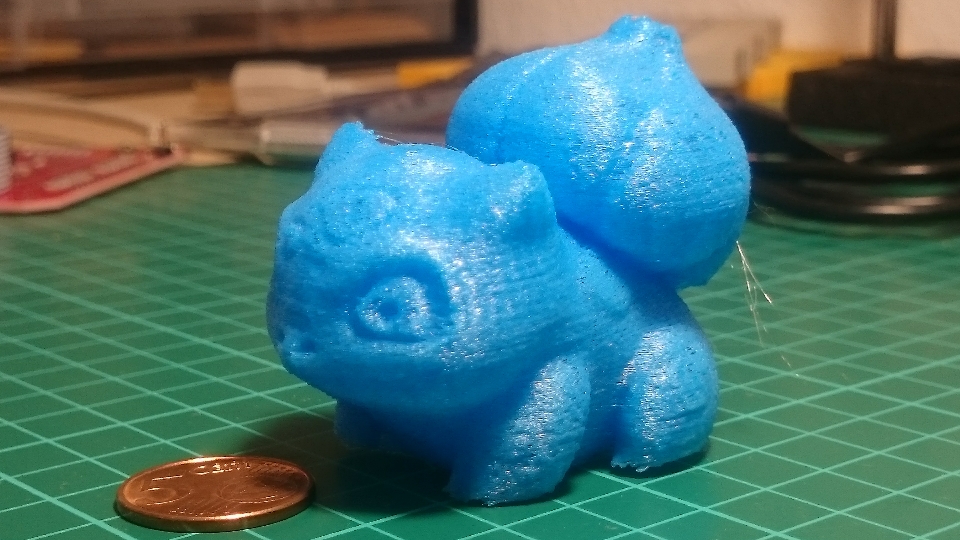
But after that, it was pretty well,
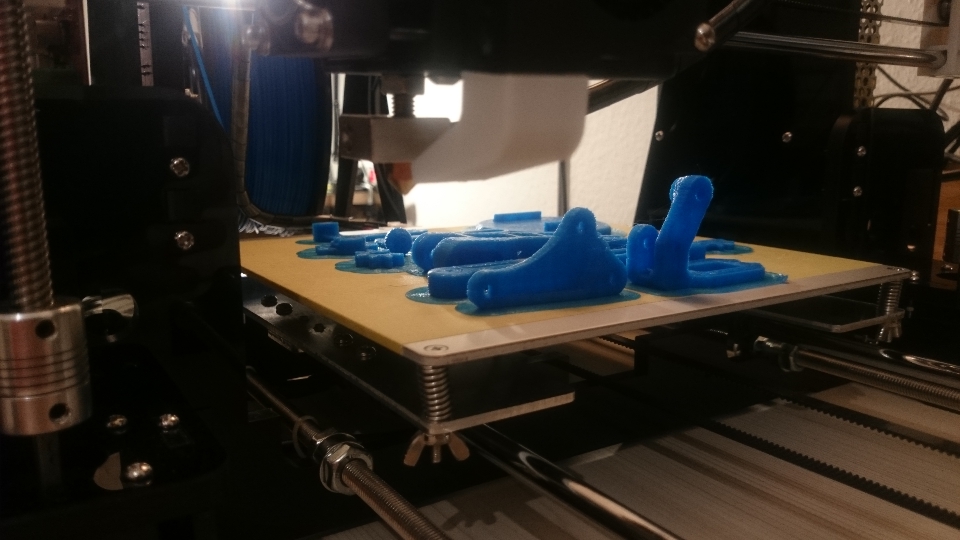
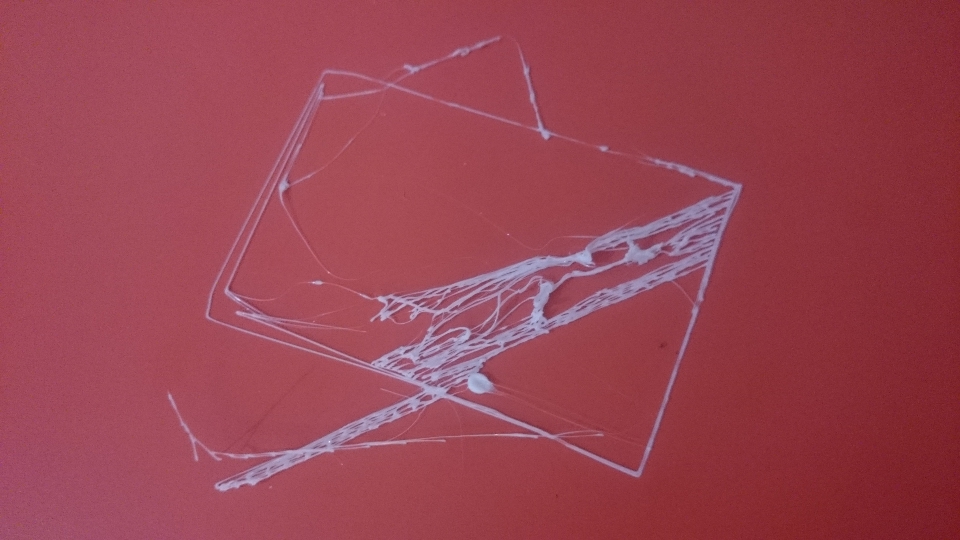
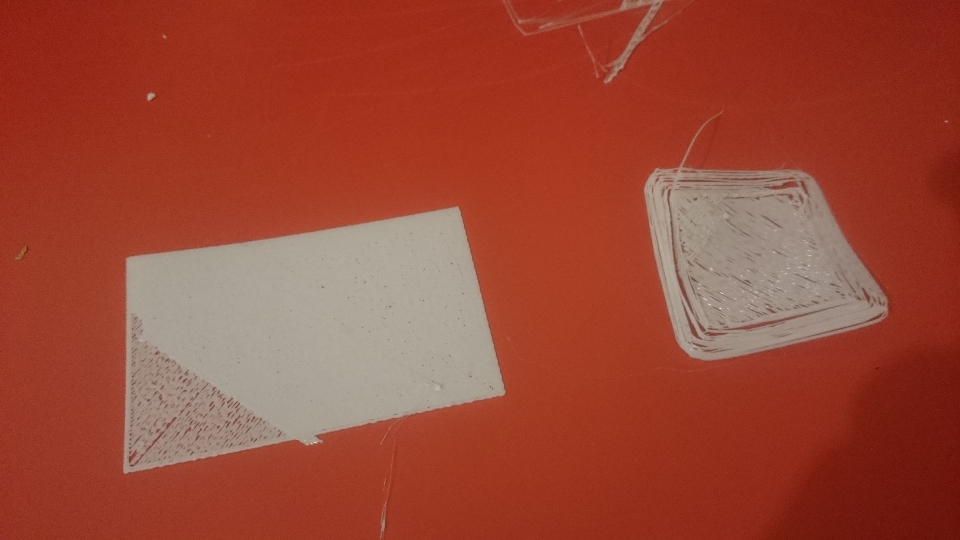
And a last advice… The first layer is important. Make sure the layer print is well stuck to the hot bed. Otherwise, if you just launch print and let the printer work without supervision, could happen something like this =D

3D Modeling
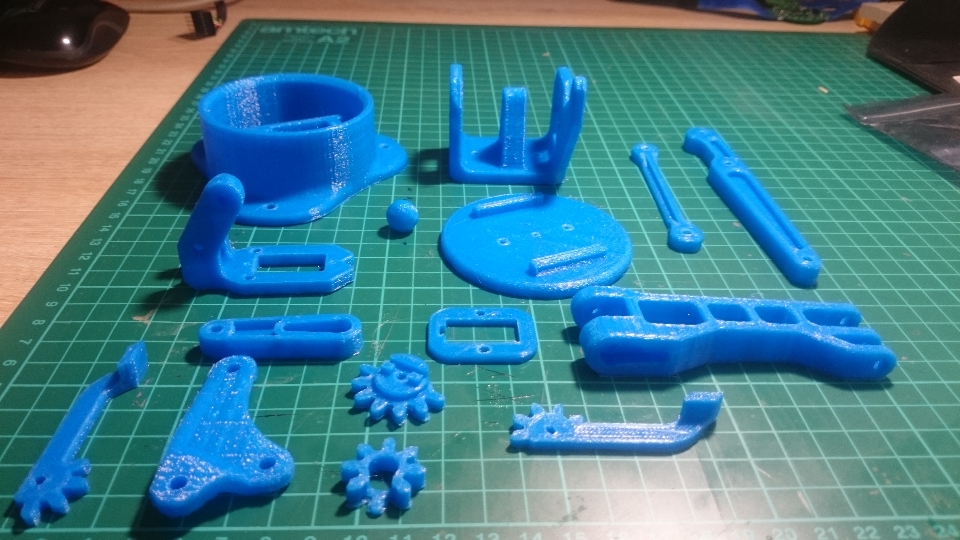
As you might see, the first thing you could do directly after assemble the printer is print some model 3d designed by other people in thingverse.
After that, there are several 3D software design you could use for designing your projects.
There are no so much software in linux you could use, being the most famous Blender and Openscad
On the other hand, on Windows without being open source, the Solidworks and Fusion360 (or Inventor) are the most known.